My 6 Biggest Beauty Mistakes (And How You Can Avoid Them)

Over the years, I’ve made some mistakes while learning how to do makeup and skincare effectively. Most of them were simple mistakes because I didn’t know better. Some were stubbornness.

However, just because I made these mistakes doesn’t mean you have to. Some of these are fairly common mistakes, but others are a bit more unique to me.

Pumping My Mascara Wand

I’d go so far as to say that not pumping your mascara wand is the minority, even now. I believe that it used to be good beauty advice, and only recently have people started to realize that it’s really bad for your mascara. It dries your product out, and it won’t last anywhere near as long.

Since stopping that, I’ve been able to make a tube of mascara last a lot longer. Which, of course, saves money. Plus, dry mascara doesn’t look very good when you put it on.

Read the rest of my biggest makeup mistakes on mugsandmakeupblog.com!

How to Build Your Skincare Routine

Your skincare is always going to be unique to you. Everyone’s skin is different and will react differently to different products. So there will always a trial and error process to finding your skincare.

And remember – what worked for you as a teenager will not always work for you as an adult. Your skin changes with you. Your skin during puberty will be different than it will be after. Pregnancy will change your skin chemistry – sometimes temporarily, sometimes permanently. Even something as simple as your period can change your skin’s composition.

Find Your Skin Type

This is the absolute most important part of your skin care routine. It will inform the kinds of products you’re going to get. It’s one of the primary reasons that there are so many different types of skincare!

Personally, I have normal-dry skin. It’s mostly normal, but tends towards dryness more than oiliness. This article from Tatcha has two great ways to figure out your skin type!

You have to be extra careful if you have sensitive skin because products can cause your skin to break out or burn, or you could even end up with hives or something more serious. If products have caused you to have reactions before, make sure you’re purchasing items that are good for sensitive skin.

Establish Your Basic Routine

Every routine should have at least these four things:

  • Cleanser
  • Exfoliator
  • Toner
  • Moisturizer

When choosing a cleanser, ensure that it works with your skin type. Some cleansers are more moisturizing, which is great for drier skin but really bad for oily skin. Some are extremely strong and on normal or dry skin it feels like your skin has been stripped of all of it’s moisture and nourishment.

An exfoliator is a product that you use 1-3 times a week, depending on the product and your skin. These types of products, be they chemical or physical exfoliants, will help remove dead skin cells from your face to reveal bright, healthy skin underneath. Be careful with these though, some exfoliating products are very harsh and can leave cuts on your skin. Make sure you’re using something gentle.

Toners will help remove any other makeup or dirt from your skin, as well as help balance your skin. Most toners are based in witch hazel, which is not ideal for dry skin. If your skin is dryer, search for something more hydrating.

Moisturizer will add or lock in moisture. Dry skin will need very strong, thick moisturizers. Oilier skin will want a more lightweight, barely there type of moisturizer. Don’t make the mistake of thinking oily skin doesn’t need moisturizer! Everyone needs a good moisturizer.

Establish Your Specific Concerns

When choosing those products, you should also figure out what other concerns you want them to help with such as:

  • Acne/Blemishes
  • Rosacea
  • Scarring or dark spots
  • Wrinkles
  • Dark under eye circles
  • Puffy Eyes

Now sometimes you can’t get help with these particular concerns in your products. That’s when you supplement with other products. For example, if you have dark and/or puffy eyes, find an eye cream that will target these issues. Serums tend to be where you get most of your wrinkle reducing or brightening benefits.

Another area where you can add some of those benefits are in your masks. Doing face (and eye) masks regularly can add some of the brightening, moisturizing, acne fighting, or wrinkle reducing benefits to your regular routine.

My Skincare Routine

Now my skincare routine is very changeable. For the sake of blogging, I try a LOT of different products. But I’ll just put the ones I’m currently using so you can get an idea of how my routine goes.

Cleanser – Fresh Soy Cleanser

Exfoliator – The Better Skin Co. Lava Magik

Toner – Boots Botanics Organic Toning Spritz

Moisturizer – Glow Recipe Banana Bright Moisturizer

Supplemental Products – Glow Recipe Watermelon Glow Sleeping Mask, Zatik Relief Eye Serum

I hope this was helpful for you guys! Let me know what your skincare routine looks like in the comments!

What Kind of Foundation is Best for You?

Choosing a foundation is one of the hardest parts of getting a flawless makeup routine. There are so many moving parts involved in choosing one, including your skin type, your preferred primers, and even the rest of your makeup! Many makeup websites will have this information, and Sephora will even sort their foundations on their website by these different factors.

Taking all of these things into account will help you find a foundation that works for you.

Skin Type

Skin type is the first and most important thing to consider when choosing your foundation. The most common types are dry, oily, normal, and combination. Dry and oily are fairly self explanatory, as is normal. Combination is a mixture of those. If you’re not sure what your skin type is, Tatcha has these two great methods to try to figure it out! I tend towards dryness, which impacts my foundation choices significantly. Matte or oil controlling foundations don’t usually work for me, and can make my skin look dry and flakey.

Skin Undertones

This impacts your choice of shade of your foundation. The three main undertones are cool, warm, and neutral. Warm undertones tend towards yellow, peachy, or golden. Cool ones are pink, red, or blueish. Neutral is a mix of those two. This cool guide from Stylecaster gives you several different tests to see what your undertones are (including the age old jewelry trick).

Other Skin Concerns

This is where you address concerns such as sensitive skin, dry patches, or acne. Often you handle most of those with skincare. However, you should keep an eye out for whether or not a foundation you’re interested in will cater to those issues. Many foundations are formulated with ingredients such as hyaluronic acid, retinoids, or salicylic acid to help with those.

Primers and Foundation Base

The type of primer you use will make a big difference in your foundation choices as well. Silicone based primers such as Maybelline Baby Skin, Benefit Porefessional, or CoverFX Blurring primer are best with silicone based foundations. Water based primers such as the Too Faced Hangover Primer, Smashbox Photofinish Primer Water, and Laura Mercier  Foundation Primer work best with water based foundations. If you try to mix the two, it can cause your foundation to separate and get cakey on your skin.

Foundation Formulas

So this is looking at things like mineral foundation vs stick foundation vs liquid foundation. This just depends on how your skin reacts. Often, stick foundations settle into fine lines and don’t perform as well on dry skin. Mineral foundations tend to work well on sensitive skin. Liquid foundations, particularly those without a mattefying effect, don’t work as well on oily skin. Now there are always exceptions, so be sure to research the foundation(s) that you’re interested in!

Foundation Finish

Lastly, you want to decide what kind of finish is your favorite. Some people really like their skin to look smooth and matte. Others love a fresh and dewy skin. That’s definitely personal preference above anything else, but again, some things you may have to use other products to achieve. With my dry skin, I can’t really use many mattefying foundations. So I use a mattefying powder instead. If you can’t use dewy foundations, then use a matte one and be generous with your favorite highlighter.

My current favorite foundations are the Makeup Revolution Conceal and Hydrate (moisturizing, medium-full coverage) and the Maybelline Superstay (full coverage, long wearing). What are your favorite foundations? Let me know in the comments!

5 Tips to Make an At Home Manicure Last

Often, it’s too expensive or time consuming to get regular manicures from a salon. However, it is possible to make an at-home manicure last for around a week or so without chipping. If you use decent products and take a few extra steps, your manicure will last longer than you’ve ever had it last before! And you get self care time to boot.

Prep Your Nails First

Before you paint your fingernails, it’s important to make sure to remove old polish. Then trim the nails down to your desired length and file them into the shape you prefer. Personally, I just round them off and file down any sharp edges. If you can, it’s also really helpful to buff the nails to allow the polish to hold better. Also make sure to prep your cuticles.

Use Base Coat and Top Coat

Using base and top coat are a huge help in preventing your nail polish from chipping. Nail polish doesn’t necessarily have to be expensive, but it’s definitely worth investing in both of these. I recommend the OPI Base Coat and the Seche Vite Fast Drying Top Coat. Even with a $2 nail polish, those two hold everything together really well.

Let the Nail Polish Cure Between Coats

Nail polish doesn’t actually dry, it cures. So any little tricks to help it “dry” faster such as running under cold water or using a hair dryer don’t work to speed things along. Letting your nail polish cure between coats allows the polish to actually harden all the way through. If it doesn’t, it will be a lot easier to dent and scratch the polish while it’s on your nails. The Seche Vite topcoat helps things cure quickly.

Take Care of Your Cuticles

You have to be careful of your cuticles while you paint your nails. They’re the natural barrier between your nail and your finger, and thus can help keep your polish from chipping at the bottom of your nail. Make sure that your cuticles are pushed down properly, and use cuticle oil regularly (especially after a manicure!). Also, don’t trim your cuticles!

“Cap” the Tips of Your Nails

This tip really made a huge difference for me. When painting your nails, paint the end of your nail, ‘capping’ it, to keep it from chipping quite so quickly. Just doing that extended the life of my manicure by a couple of days. It really helps!

I hope these tips help you as much as they did me! Have any tips for improving the life of an at home mani? Let us know in the comments!

How to Choose the Right Lipstick

If you’re new to lipstick, choosing something you like can be frustrating and difficult. This post is intended to be a general guideline for what to try if you don’t know what to try.

If you want to try something not on this list or outside of these general ideas, do it! I’m never one to get in the way of someone enjoying makeup to the fullest.

With that, let’s start figuring out what you like!

Choosing a Lipstick Finish

So first, a few definitions. Please note that there are definitely more finishes than these, but they tend to be fairly self explanatory (ex: glitter, hi-shine, frost, metallic, etc).

Many finishes also tend to be on a range. Here we’re focusing on the three most common categories.

Matte – No shine whatsoever. Tend to have high staying power and high pigment. These are great for if you’ve got places to be and you don’t need to be worrying about your lipstick!

Satin – Mid range in all ways. Some shine but not to the level of gloss. Staying power isn’t as good as matte lipsticks overall. However, these are amazing for everyday lipsticks, particularly if reapplying won’t mess with your groove.

Sheer – All shine all the time. These tend to have very light pigment, and are more intended for a gentle wash of color. If you’re nervous about experimenting with lipstick, this is a great place to start.

Usually, preferences on these depend on your preferred finish and how you want your lipstick to feel. You should take staying power into the account as well, though. Lipstick finish is a really unique thing that depends on the person, the day, and even the color! I have a range of finishes in my lipstick storage, so don’t feel like you have to pick one. Try different things and see what formulas you like.

Choosing a Lipstick Color

Obviously, colors are entirely a preference thing. These are guidelines for if you’re not sure where to start, not rules that you should feel trapped by! If you enjoy wearing it, you can wear it.

Your undertones also make a huge difference when choosing a color. Cool vs warm undertones are something you should definitely keep an eye out for.

Pinks

Pale/neutral pink shades are great for lighter skinned people who are looking for something subtle and easy to wear. Satin or even sheer shades of pink are great if you want it to look more natural. Bubblegum shades are gorgeous as well, particularly on darker skin tones where the vivid color will pop.

Reds

Literally everyone has a red that will look great on them. A bright cherry blue-red will flatter basically anyone. And if you’re not feeling that, try an orange-y red to set off dark, cool skin tones or a deep maroon/red-violet against very pale skin. Often, red lipstick is the first lipstick people buy because it adds an instant elegance to a look, which will lead them to purchase a lipstick even if they don’t usually like wearing lip colors.

Nudes

Nude lipsticks are sometimes hard to match. There are numerous tips and tricks out there for finding your perfect nude lip, but once you find it never let it go! Nudes obviously can range from very light peachy tones to dark mahoganies. Just because a shade isn’t technically “your” nude shade doesn’t mean that it’s not a shade that would look great on you.

Other Colors

Beyond that, experiment! I’ve got a bright purple lipstick that I enjoy wearing. Dark maroon-plum colors are great fall colors. As are caramel browns. Plums look beautiful in fall-winter.

Finding your favorite lipstick takes time and searching through many different ones. Subscription boxes are a great way to try new formulas because they often feature a lip product every month. You’ll be able to build your collection and try many different products.

Personally, my current favorite lipsticks are Colourpop Lux Lipstick in Belle(or anything from this line) and Huda Beauty Liquid Lipstick in Trophy Wife. What tips have been the most helpful in your lipstick selections? Let us know in the comments!

How to Clean Your Makeup Brushes

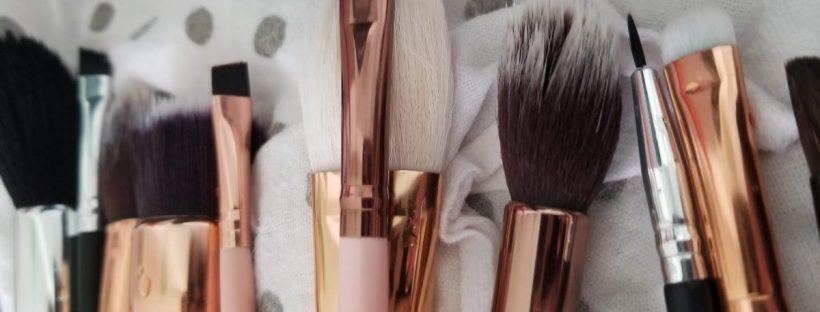
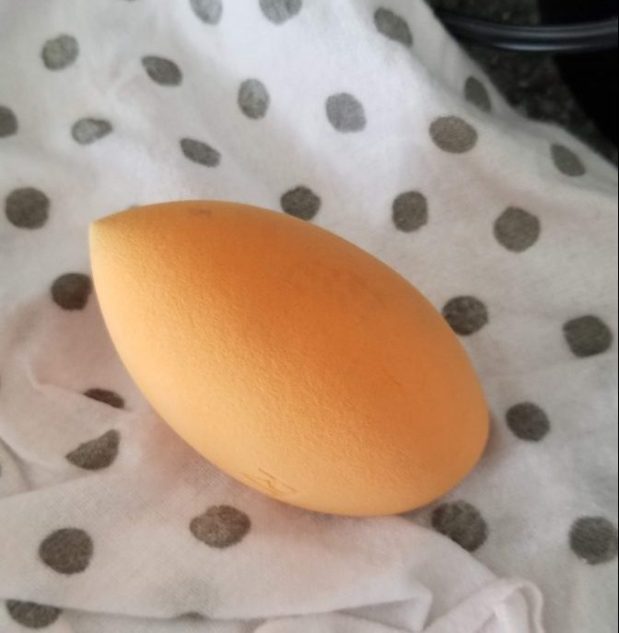
Keeping your makeup brushes clean is one of the best ways you can take care of your skin. When you don’t, you’re allowing all sorts of nasty bacteria to collect on your tools. Usually, the generally accepted suggestion is to clean your brushes once a week (or as needed) and your beauty sponges around every 2-3 uses or so.

If you’re really worried about bacteria on your sponge, you can clean it every use no problem. With brushes, there’s usually no need to clean them every use unless you’re using bright eyeshadow that’s still inside the bristles and will mess up future looks.

Tools Needed

To get your makeup brushes clean again, you’ll need a few things: but nothing you won’t find around the house.

  • Dish soap, such as Dawn
  • A clean hand towel
  • A hanger (or two, depending on how many brushes you have)
  • Some hairties, tape, or string

You can get all sorts of special tools, soaps, etc. but this is all you really need.

Cleaning Your Brushes

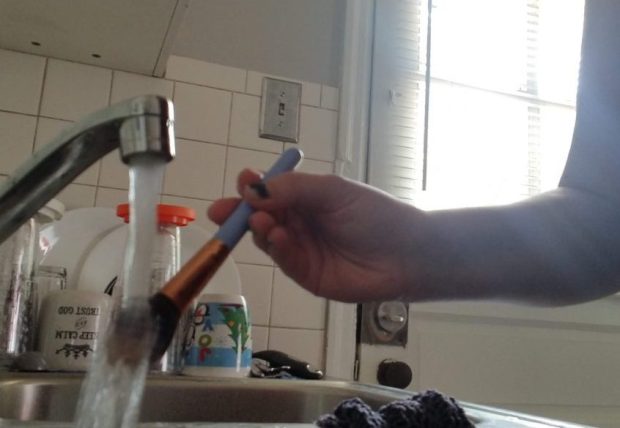
The best thing to do is dampen the bristles in warm water.

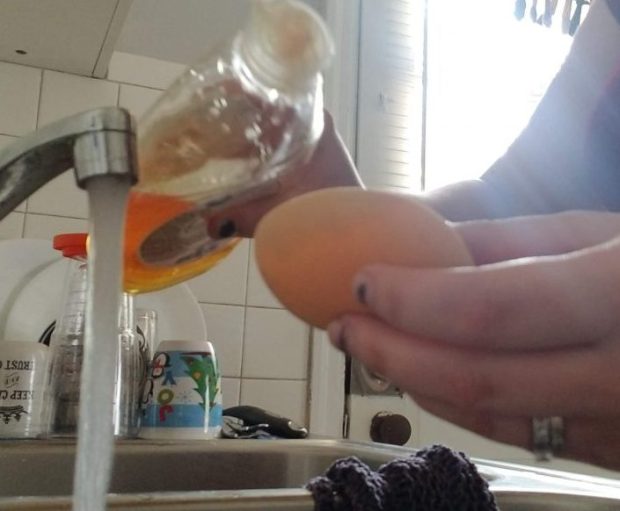
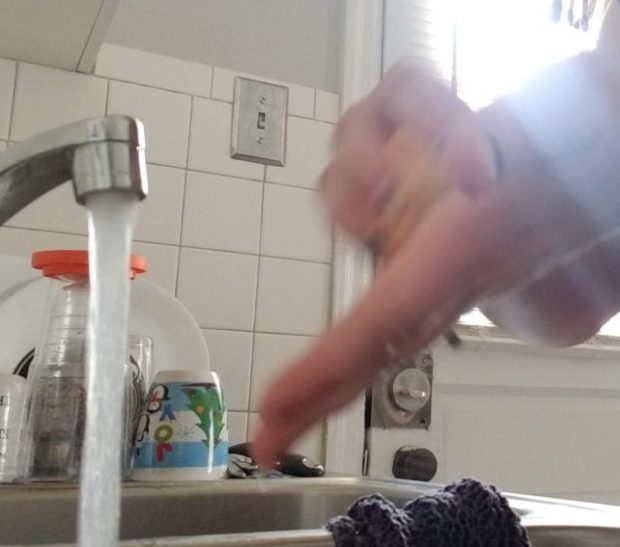
Then put some soap in the palm of your hand and scrub the bristles in the soap under the running water. You can get a brush cleaner for this step, just put the soap on the cleaner itself and scrub the brush with that.


Rinse and check to see if the bristles are clean. If not, then scrub it again.

Lay the brush on the towel and pat the bristles somewhat dry.

Once you’ve washed all of your brushes, take a hanger and put it somewhere out of the way like on the shower curtain rod. Use the hairties or tape to secure the brushes on the hanger, bristles down. This will make certain that the brushes dry completely!

Cleaning Your Beauty Sponge

When you clean your beauty sponge, soak it in warm water to start.

Then pour dish soap directly on the areas where you have makeup sitting on the sponge.

Scrub it against your hand until the makeup disappears!

Repeat on all areas where there’s makeup sitting.

Rinse out well and allow to dry in a well ventilated place on a hand towel!

I hope this helps you guys get all of your makeup tools clean and new looking again. Make sure you make time to clean everything regularly!